Start by looking at the light
A lake makes a beautiful backdrop, but it can also be a difficult place to photograph people. Open sky sends light onto faces from above, while the water may reflect bright patches into the frame. If someone faces strong sunlight, they may squint; if the sun is directly overhead, the shadows under their eyes and nose can look deep. Before asking anyone to pose, take a moment to notice where the light is coming from and where it falls on their face.
You do not need a particular time of day to make a good portrait. Low sun often gives you more angles to work with, but soft light can also come from cloud cover or a shaded spot beside a path. Move a few steps in either direction and watch how the face changes. The most useful location is often the one where the person feels comfortable looking toward the camera, not the one with the widest view.
Use shade as a natural light modifier
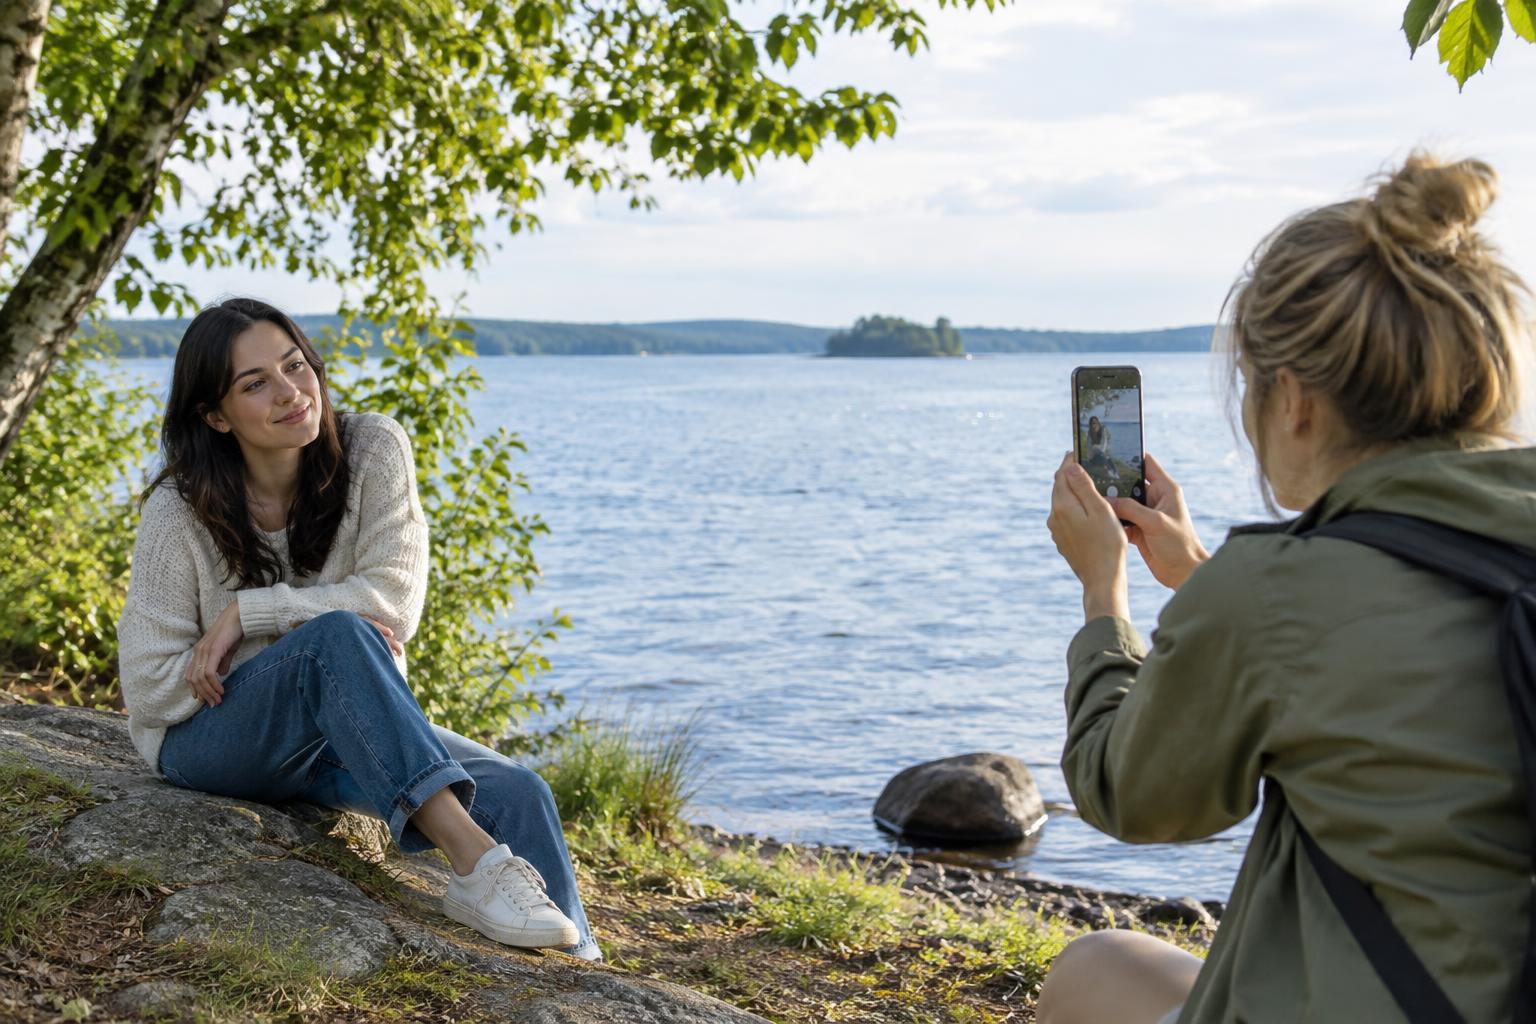
On a bright day, look for open shade under a leafy tree, beside a porch, or near the sheltered side of a small building. Place your subject just inside the shaded area, facing the brighter open sky. This usually gives the face more even light while keeping some sparkle in the eyes. Avoid a patch where narrow beams of sun cross the face or shoulders; mixed bright and dark areas can be harder to balance than full sun.
Check the background as well. A face in shade against a sunlit lake may appear too dark, particularly when a phone tries to balance the whole scene. Turn slightly so that shaded trees, a dock, or a darker stretch of shoreline sits behind the person. If you want the bright water in the picture, tap the face on your phone screen and adjust the exposure if needed. With a camera, take a test frame and brighten the face while watching that the background does not become distracting.
Change your angle when shade is scarce
If there is no useful shade, try putting the sun behind the person rather than asking them to stare into it. Backlighting can reduce squinting and give hair and shoulders a gentle rim of light. Keep the sun just outside the frame or partly hidden by a tree or the subject’s head to limit flare. The face may need a little more exposure; on a phone, tap the face and raise the brightness until it looks natural.
Another option is to turn the person so the sun comes from one side, then photograph from the brighter side of their face. This can soften the contrast without flattening the scene. Take a few steps around them and compare the results rather than relying on a single position. A pale path or light-colored wall may bounce some light into shadowed areas, but reflections vary, so let the image on your screen guide you.
Keep the portrait relaxed
Good light helps, but expression and comfort matter just as much. Invite your subject to walk slowly along the shore, sit on a bench, or look out across the water before glancing back at you. These small actions give hands somewhere to go and make the session feel less formal. Ask before photographing people, especially children or strangers, and respect anyone who would rather not be in the frame.
Pay attention to the edges of the photograph. A horizon running through someone’s head, a bright boat behind their shoulder, or a busy row of bags can pull attention away from the face. Move yourself before moving the person; a lower or slightly higher viewpoint may clean up the background. Keep a safe distance from slippery rocks, steep banks, and the water’s edge. No photograph is worth asking someone to stand somewhere uncomfortable.
Make small adjustments, then stop
Before taking several photographs, check one frame closely. Are both eyes easy to see? Is the face brighter than the background, or lost against it? Are there sharp patches of light across the skin? Fix the biggest issue first by changing position, choosing shade, or adjusting exposure. If your phone or camera offers portrait mode, use it only when its blurred background looks convincing around hair and clothing.
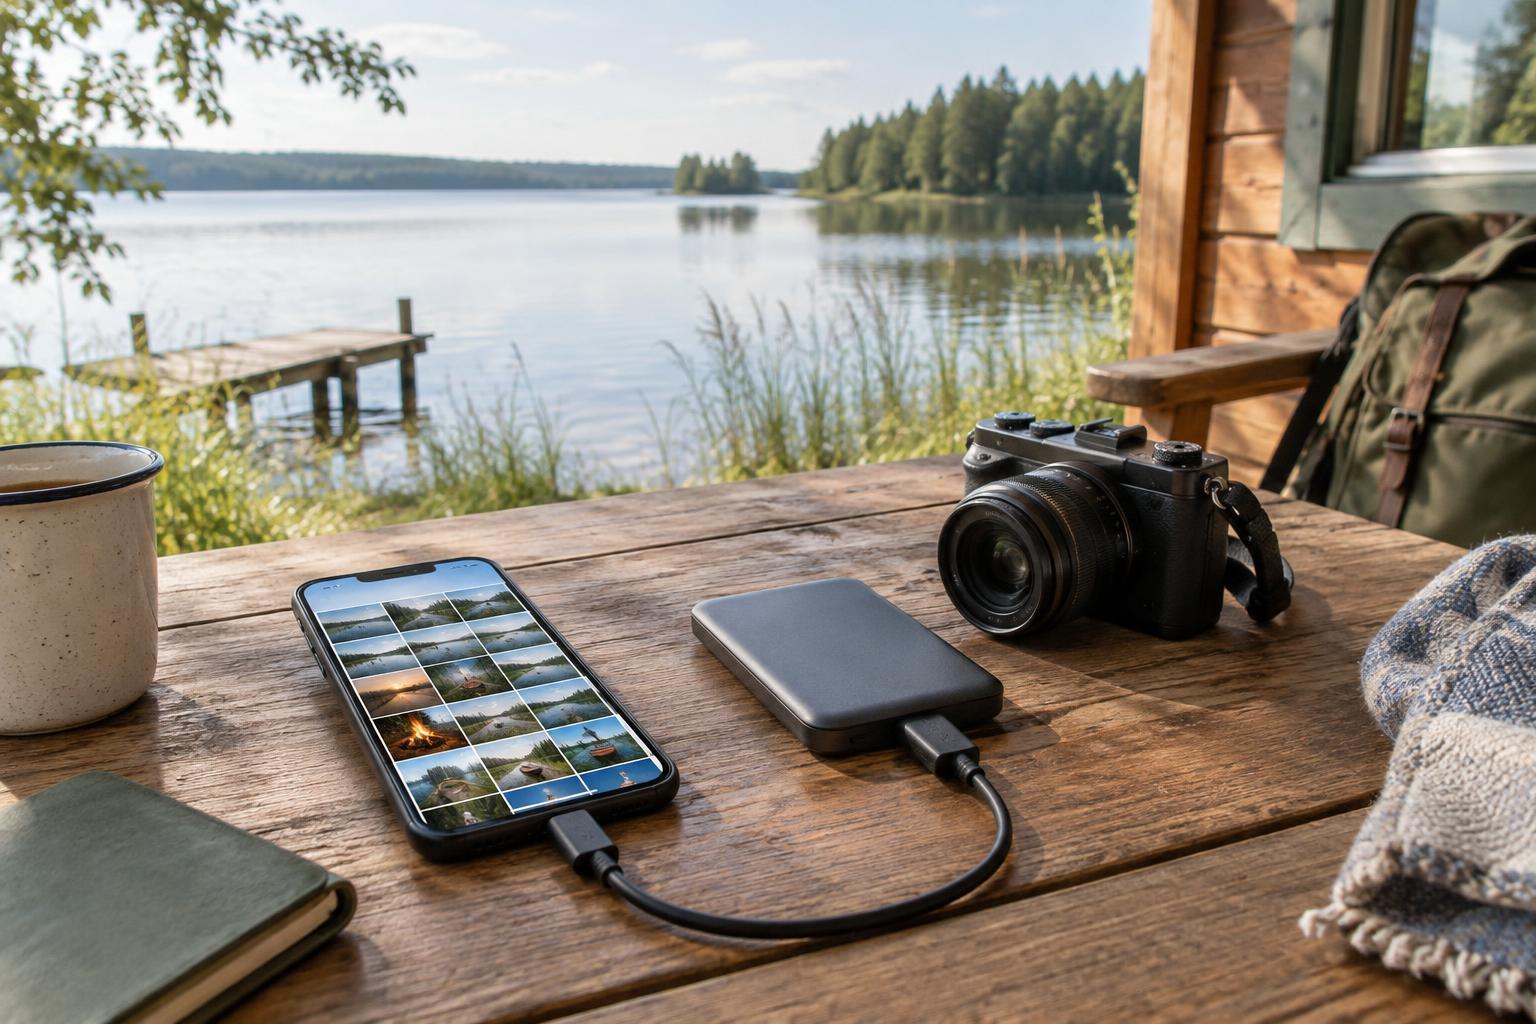
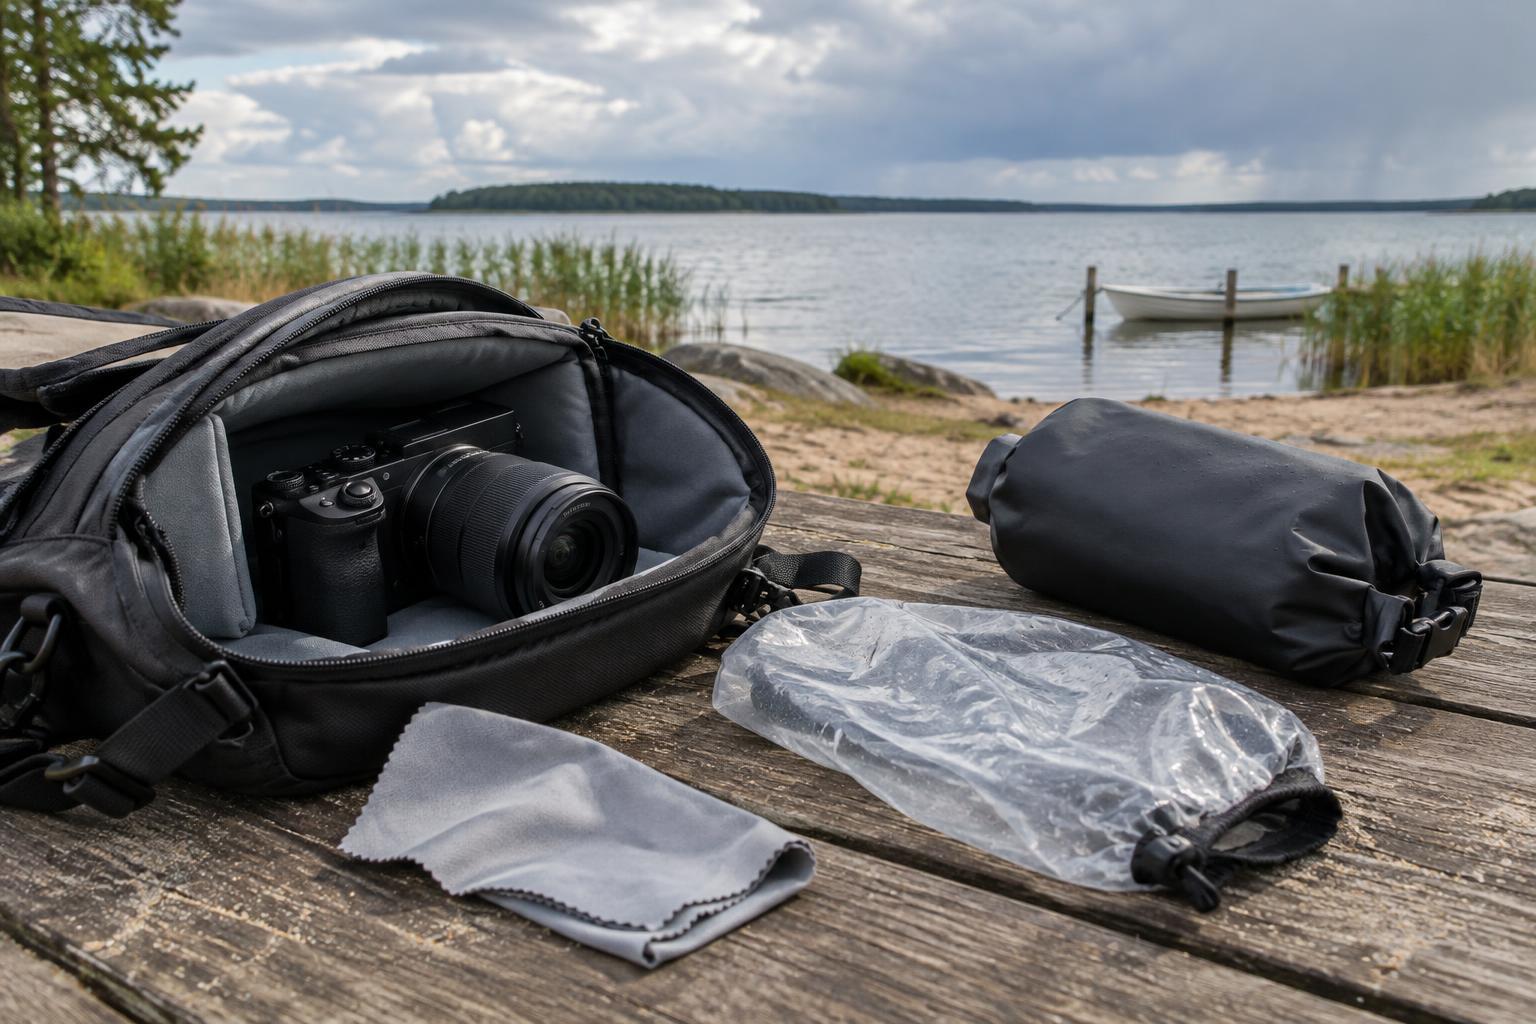
For a weekend trip, you can keep the kit simple: a clean lens, enough battery power, and perhaps a small cloth for water spots are more useful than an elaborate setup you do not want to carry. Take a mix of close portraits and wider frames that show the shoreline. Once you have a few images you like, put the camera away and enjoy the lake together.